
Article
Action Camera Tips for Cliff Diving and Waterfall Jumping
December 5, 2024
Photos and videos
Media from the original post
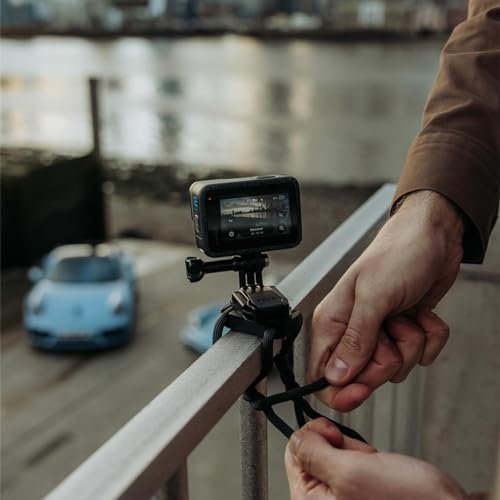
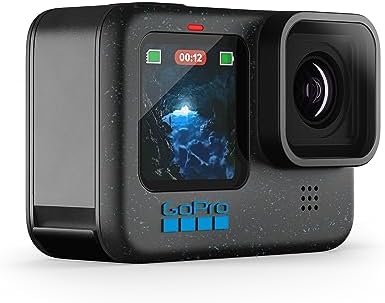
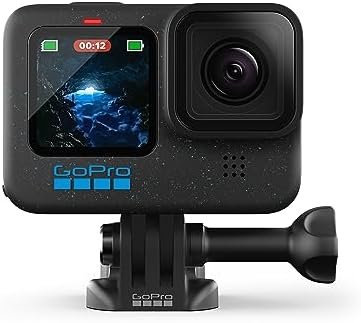
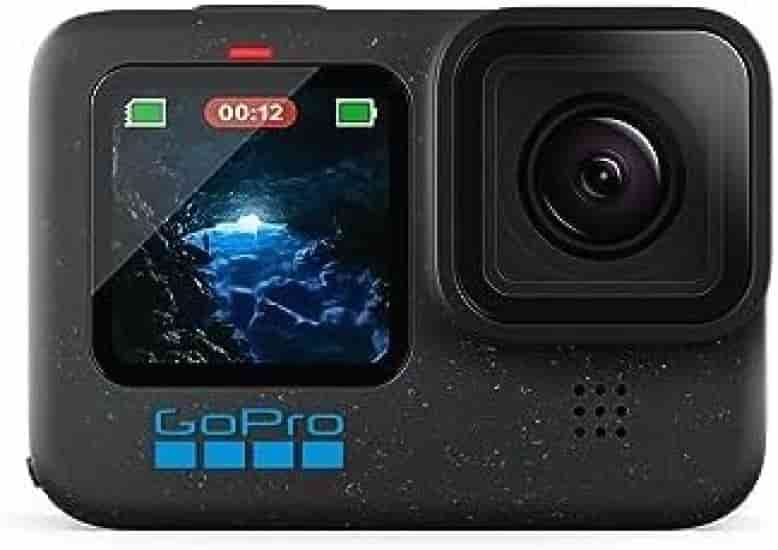
An action camera can help document a cliff diving or waterfall-jumping trip, but it should never become the reason someone rushes a jump. The best camera setup is the one that stays secure, keeps your hands free, and lets the group focus on water depth, access, weather, landing zones, and the choice to walk away when conditions feel wrong.
Start with durability before resolution. Waterproof housing, a secure latch, a floating grip or leash, and a mount that will not shake loose matter more than chasing the highest video setting. Salt water, cold water, sand, and repeated impacts are hard on small cameras, so test the case and seals before the trip instead of discovering a leak at the spot.
Keep the setup simple near the water. A chest mount or floating hand grip is usually easier to manage than a complicated helmet or pole setup, especially around slick ledges and uneven approaches. Avoid mounts that block your vision, pull your balance off center, or create snag hazards near rocks, ropes, branches, or other jumpers.
Use camera planning as part of the larger spot check. Confirm whether the location is open, whether swimming or jumping is allowed, where the exit route is, how the water level has changed, and whether the landing area is free of visible hazards. If you have to choose between checking the spot and setting up a shot, check the spot.
For footage, wide settings usually work best because they capture the ledge, water, and body movement without requiring perfect framing. Higher frame rates can help smooth fast movement, but they also use more battery and storage. Bring a spare card, a dry towel, and a small case so the camera is not loose in a wet bag with keys, sand, or sunscreen.
Group etiquette matters. Do not pressure someone to jump because the camera is rolling, and do not stand in landing zones or climb onto unstable angles for a better shot. The most useful footage is often the practical context: the approach, the posted signs, the water clarity, the exit, and the scale of the ledge.
After the trip, label clips by location and date while details are fresh. Good notes can help later if you are updating a jump spot page with current access information, changing water levels, new hazards, or a better description of the approach. Treat the camera as a record-keeping tool first and a highlight reel second.
Bottom line: bring a rugged camera if it helps you remember the trip, but keep the priority order clear. Access, depth, landing zone, weather, group judgment, and local rules come before the shot.
